This fall harvest season has left lots of odds and ends in the back of my crisper drawer. I hate wasting anything and have lots of little tricks for using these up but my family’s all time favourite leftovers masterpiece is fried rice!
Pretty much anything can become the star of fried rice. There are a few base ingredients that you will need to pull it together. Then clean out the crisper and bask in the compliments from your family!!!
Ingredients
This recipe is meant to clean out what you already have in your fridge.
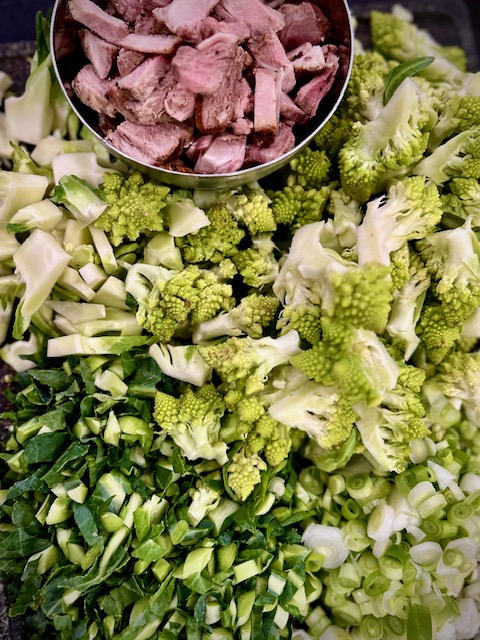
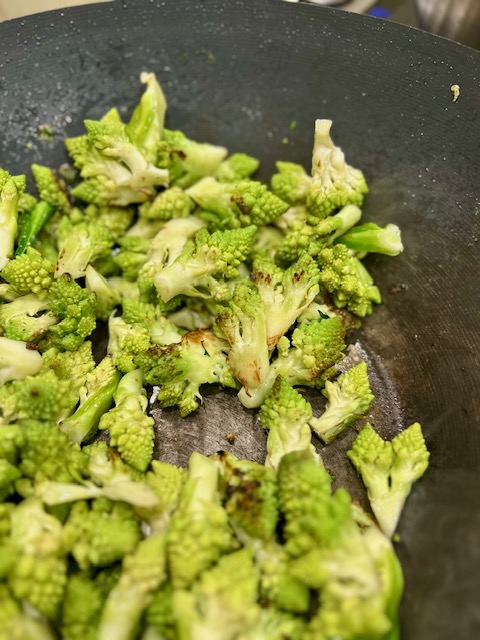
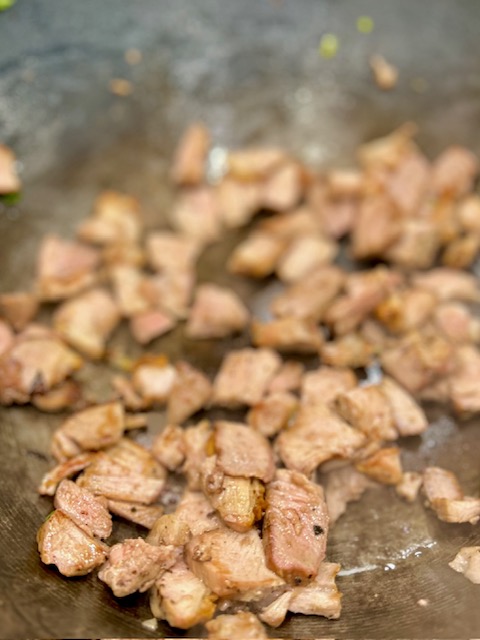
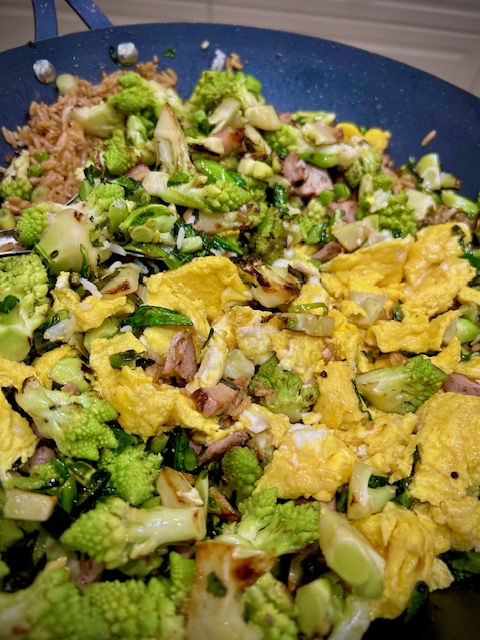
In the photos you will see that I used romanesco, green onion and some leftover pork chop.
Try to use a combination of:
- Veggies (it is hard to think of a veggie that wouldn’t work but good examples are brassicas, hardy greens, carrots, celery and peppers)
- Some form of onion (green onion, leek, storage onion)
- Leftover mushrooms or meat if you have them (optional)
In the unlikely event that you have nothing worthy at the back of your fridge, we have lots of these items to choose from at our farm stand and online store!
You will also need:
- Leftover refrigerated or frozen rice (~1 cup per serving)
- Eggs (~1 egg/serving).
- Soy Sauce
- Peanut oil or another neutral-flavoured oil
- Toasted sesame oil
- Five spice powder
- Hot sauce/fermented pepper paste of your choice (optional)
Equipment
- Cutting board
- Chef’s knife
- Wok (carbon steel if you have it: it is naturally non stick and has no forever chemicals) or other large skillet-shaped pan
- Silicone spatula or other large utensil for scraping/stirring
- Large bowl for serving and to hold finished ingredients as you cook
Method
Fried rice cooks up FAST so it is important to everything totally prepped before you get started.
First, if you have rice in the freezer, pull it out in advance to thaw in the fridge or a sink of cold water. It will fry best when it is still cold.
Next, chop all of your veggies, mushrooms and meat into bite sized pieces.
Everything will be pre-cooked before tossing it together so separate ingredients out into little piles that will cook in similar times. For example, I used romanesco florets, stems and leaves which all have different cooking times so I separated them to cook one at a time. Save chopped green onions to add at the very end.

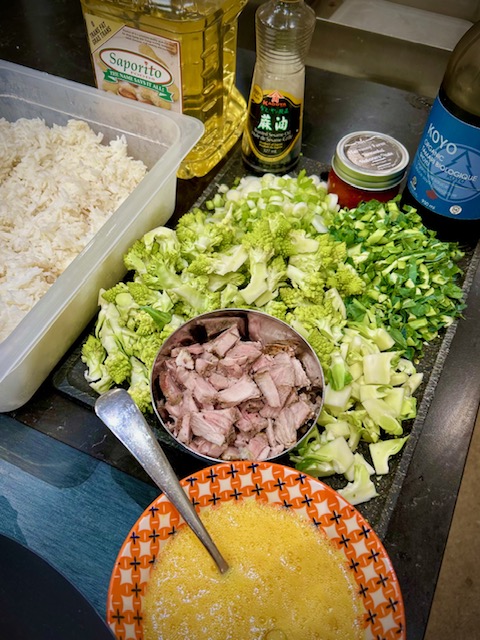
Next, crack and beat the eggs. Add a small amount of cold water (~1tbsp) to keep them fluffy and some salt to keep them tender and to hold the liquid in.
Gather everything that you will use during cooking and keep it close by the stove so that you are not scrambling mid-fry.
Add enough peanut oil (and a few drops of toasted sesame oil) to just cover the bottom of the wok. Heat over medium-high->high heat until it is shimmering. Add the eggs and swirl to coat the bottom of the pan. Keep a close eye on it and keep swirling and lifting solid edges with a spatula to allow liquid egg to pour in underneath. Once the egg is mostly solid, pour it into your holding bowl and roughly chop it up. It will finish cooking at the very end.
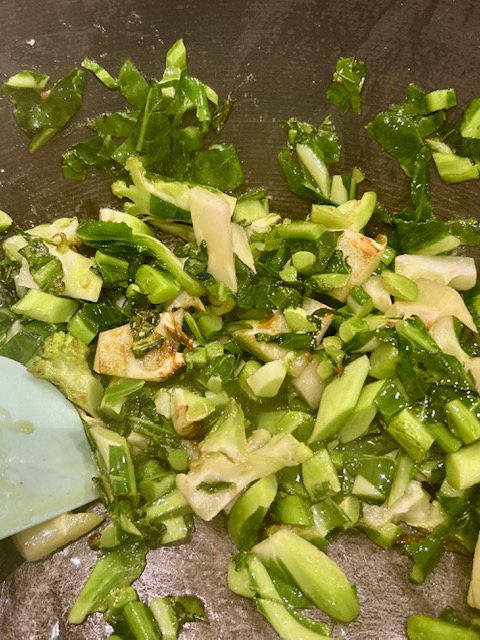
Re-coat the pan with the two oils as above and turn the heat up a bit. Start cooking the ingredients, one at a time. Leave each batch perfectly still for a minute or two to build up a bit of delicious browning.
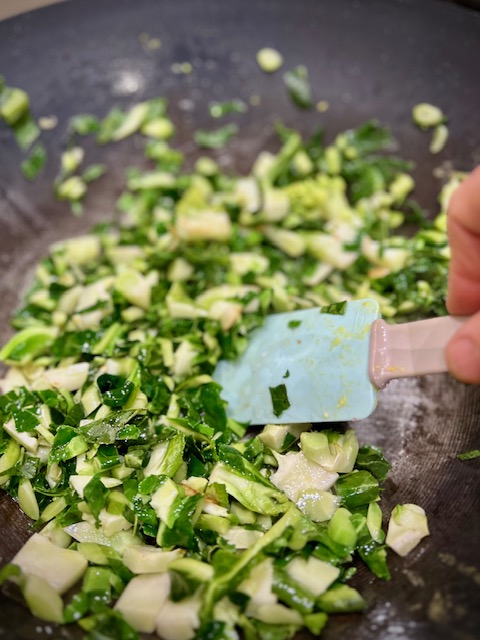
If things get too hot, move the ingredients from the middle of the pan and add fresh ingredients to cool the mixture down or simply turn the heat down.
If you are using harder veggies, you can cover the pan with a lid for a minute or two to allow it to steam while browning and soften it up a bit.
As each batch cooks, add it to the holding bowl on the side.
Save green onions for the end, after the rice is cooked.
If you are using storage onions, they should be cooked early on and allowed to build up lots of caramel colour for a delicious bit of sweetness.
Once all of the egg, meat and veg are cooked, caramelized and set aside, it is time for the rice.
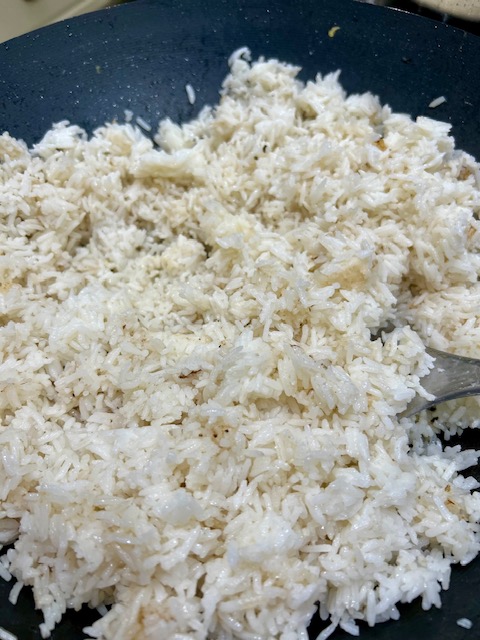
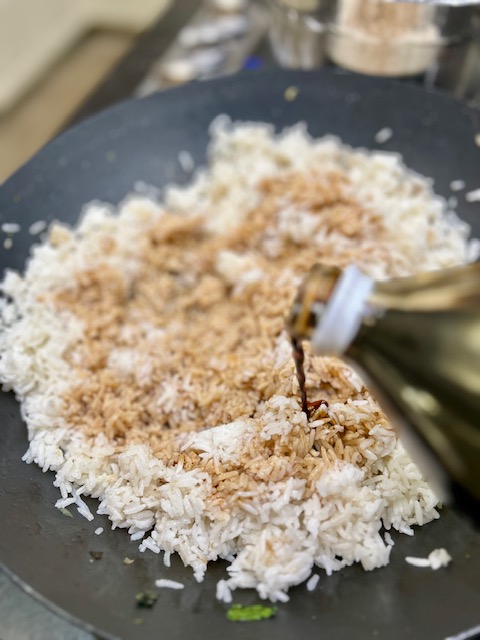
Again, coat the bottom of the pan with the two oils. Turn the heat down to med-high. Add the rice, breaking apart any lumps as you add it to the pan. Stir to make sure all of the grains are lightly coated, adding a bit more oil as needed. Keep stirring until the rice is warmed through. Add enough soy sauce to add some nice colour and flavour. How much you add is dictated by your taste. Add a bit, taste it and adjust until it is just right. Do the same with the five spice power. You can also add a bit more oil and press the rice down to allow it to brown on the bottom to form a little bit of crispiness if you like at this point.
Once the rice is cooked to your liking, toss all of your back-of-the-fridge finds back in.
Add the chopped green onion then cook until everything is heated through and the green onion has softened slightly.
Add a bit of hot sauce and adjust soy sauce and five spice powder if you like.
Take a deep breath and prepare yourself for some well earned compliments…you have just made something truly healthy and delicious with items that could have sadly gone to waste!
Time Savers, Storage Tips and Spin off Recipes
- When you are cooking rice, consider making a double or triple batch to refrigerate or freeze in portions. Chilled or frozen rice becomes resistant starch which is much healthier for your gut microbes. Cooling the rice causes the starch molecules to re-organize into a more resistant, less digestible form that can improve gut health and blood sugar management. Having prepped rice on hand also makes life easy for your meal-prepping future self!
- If you happen to have more veggies than you can use for a batch of fried rice, consider roasting them in the oven at 425 degrees, lightly coated with the oil of your choice and some salt and pepper. Once cooked to your liking, they can be portioned and frozen in an airtight / vacuum packed bag to be used in anything from stir fry to lasagne. They will taste fresh and awesome, add plant power to whatever you are making and save you lots of time.
- Leftover meat can be portioned and frozen for your next batch of fried rice
- Green onions are a wonder vegetable that can be chopped and frozen without cooking them first. If you keep them in a zip lock bag in the freezer, you can use them as you need them throughout the winter until the next fresh green onion season starts:)
Did you Know?
| This Recipe’s Plant Count: 12 in the example I have used but the possibilities are endless! |
| Time required: ~30 minutes |
| # Servinu gs: As many as you like Plan to make twice as much as you need for a meal, this makes an awesome lunch the next day |
