For the longest time, I have wanted to try fermenting vegetables but I was afraid to try. It was not something I had ever seen done. I was worried that I would mess it up and poison my family.
Finally, I built my confidence by reading as many fermenting books as I could find and made the leap. It was easy! And delicious! So much better than store bought versions.
Sauerkraut is a great way to start. Cabbage is such an awesome storage vegetable that you can experiment with it all winter long. Then apply your new found fermenting prowess to a variety of vegetables next growing season!
Ingredients
- *One head of cabbage, finely shredded
- Unrefined salt
- *Harmony Farm product
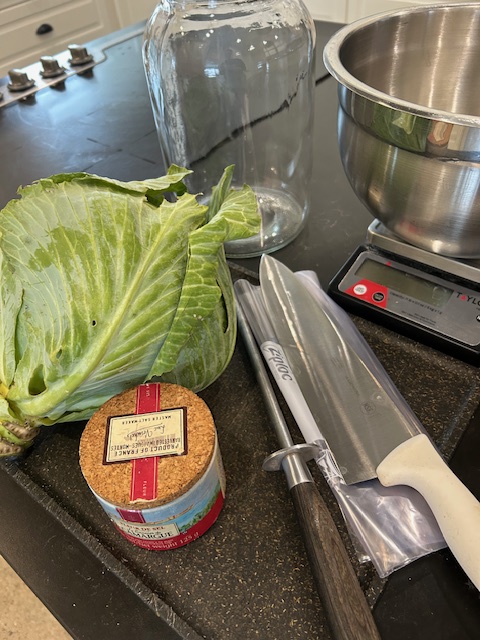
Equipment
- Cutting board
- Chef’s knife
- Bowl
- Food scale
- Large jar
- Ziplock bag
- Cloth and elastic
Method
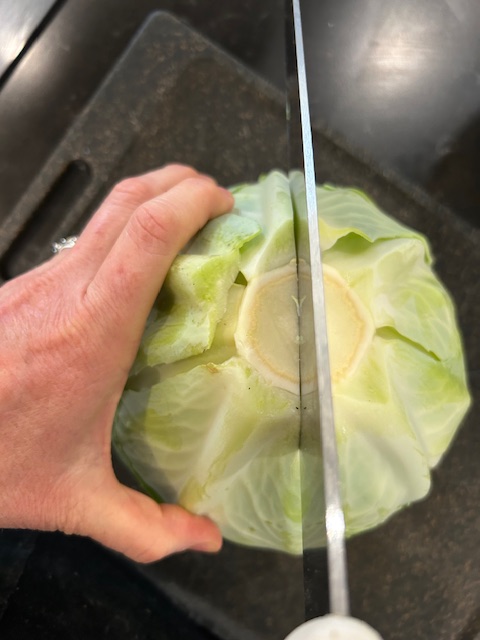
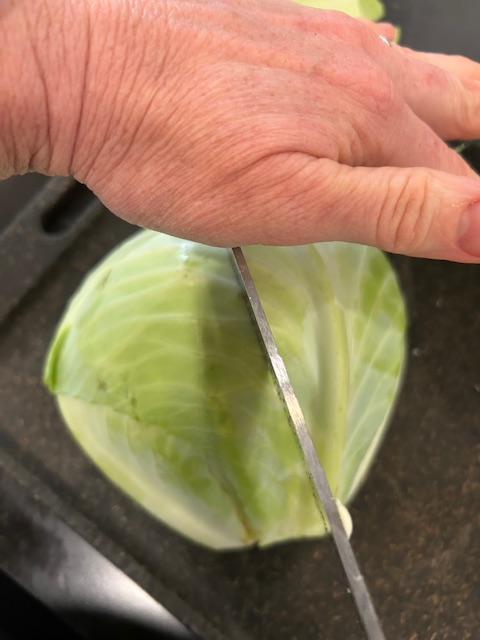
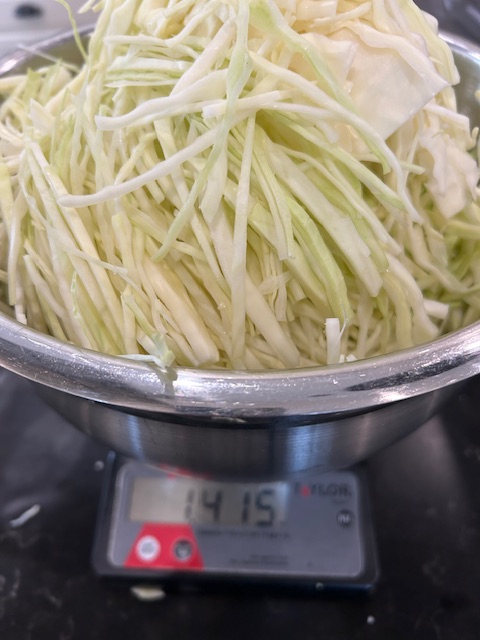
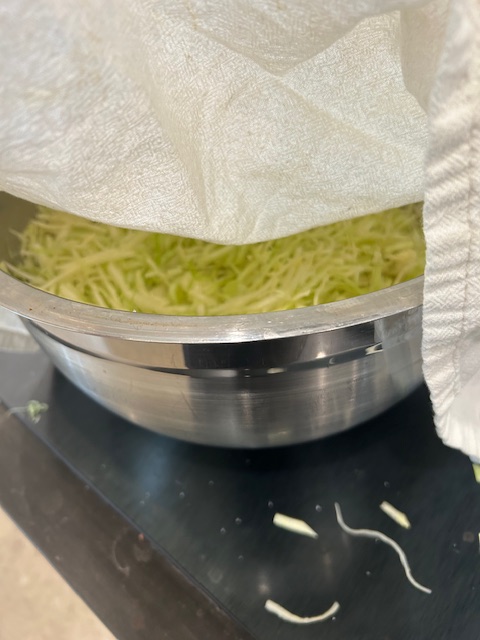
Thoroughly rinse your cabbage, remove the core and finely slice.
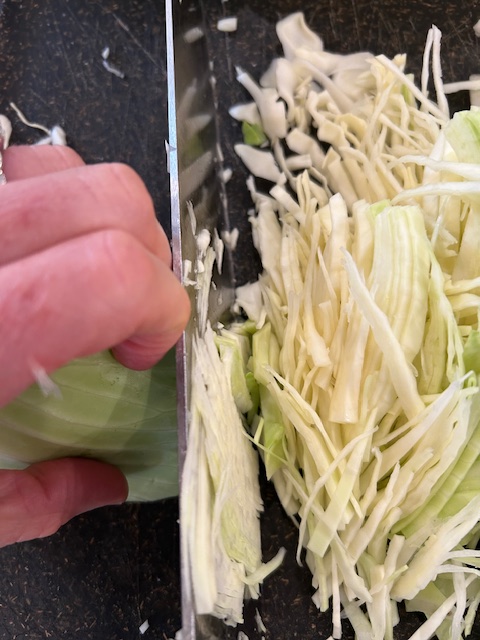
Weigh the sliced cabbage. Then weigh 1.5% of the cabbage weight in salt. It is best to use a natural and unrefined salt (most micronutrients and no added ingredients that could negatively impact the fermentation).
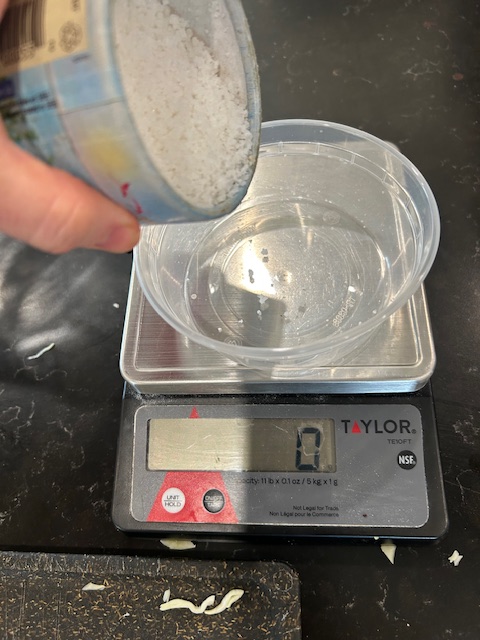
Different recipes call for different percentages of salt. This is likely because the amount of salt needed will depend on the amount of moisture in the salt. Generally sea salts have a higher moisture content. The good news is that it is not an exact science. You need about 1% salt in order to create the right environment for fermentation but can use more. Many recipes call for up to 2%. It all comes down to taste.
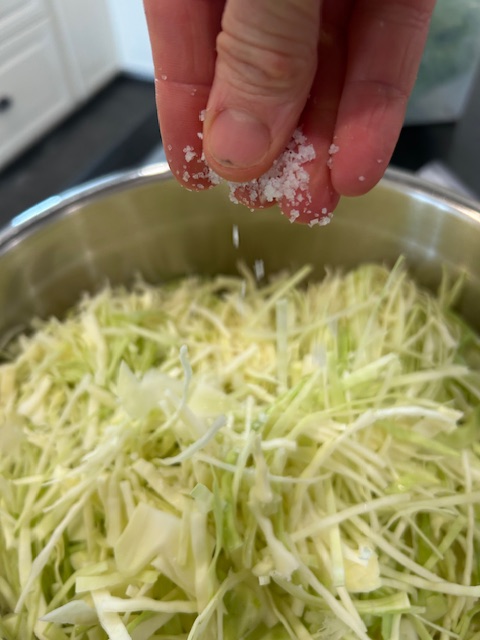
Start by adding about half of the salt you have weighed. Massage it into the shredded cabbage. Taste a bit of the cabbage. It should taste lightly salted and delicious. If there is not enough salt, go ahead and add more until it tastes just right. Then continue to massage the cabbage until it is starting to release it juices.
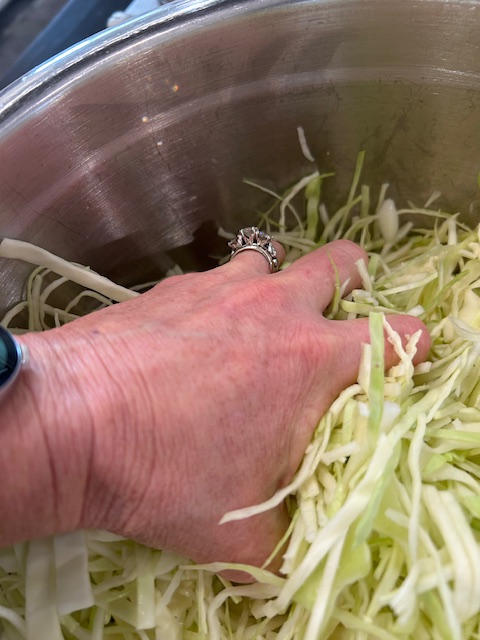
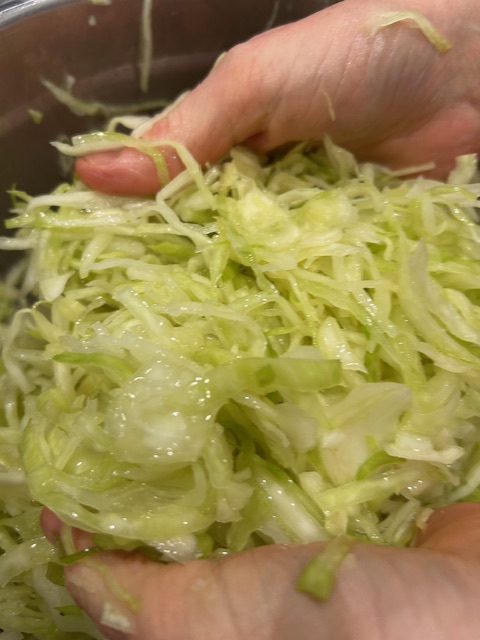
If it is taking a bit of time, you can cover it and come back in 30-45 minutes. A little time can work wonders.
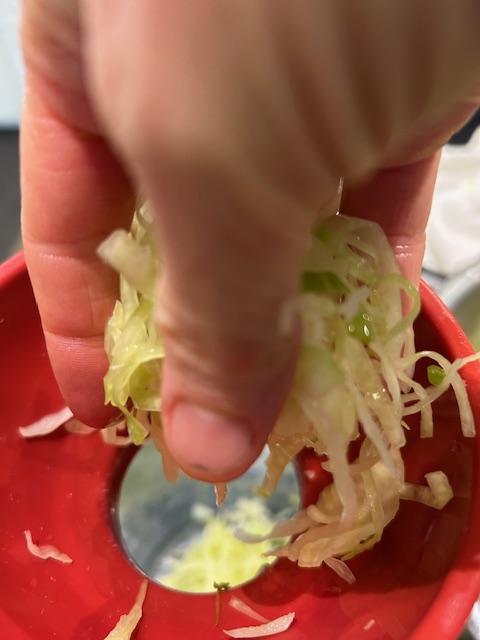
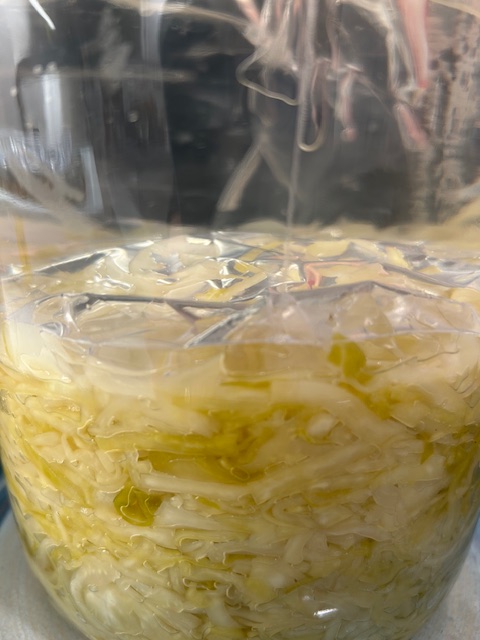
Give it another little massage to make sure it is releasing brine. Then start to pack it in a large non-reactive container. You can use a fermenting crock, a large glass pickle jar or a collection of smaller jars if that is what you have available.
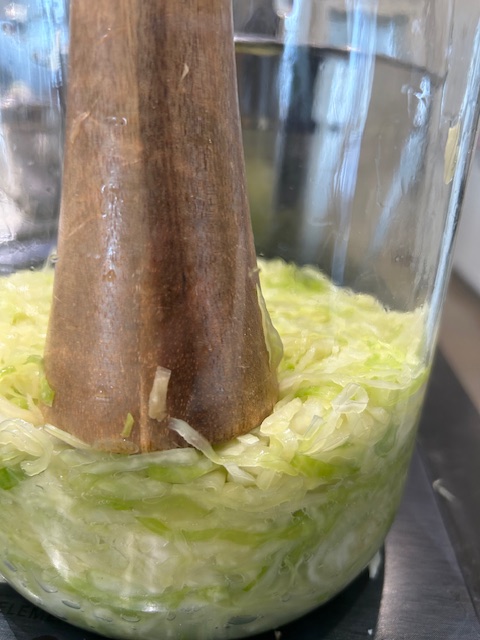
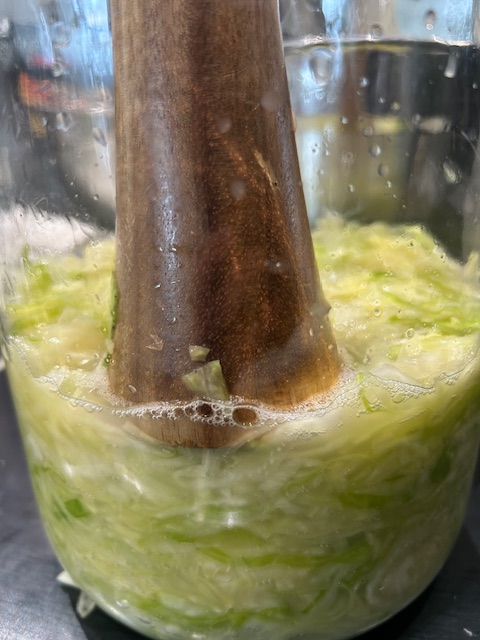
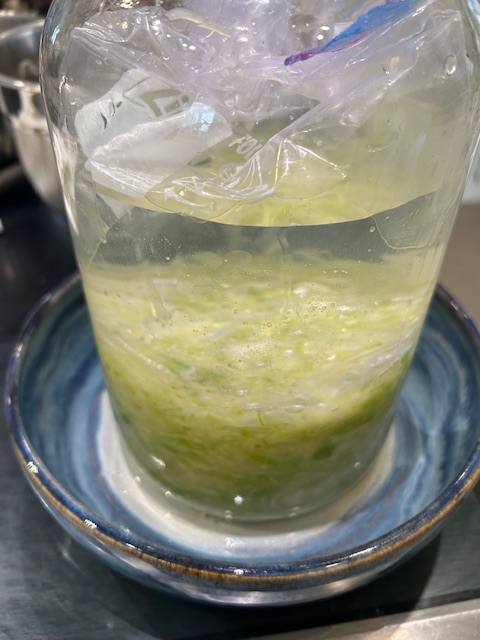
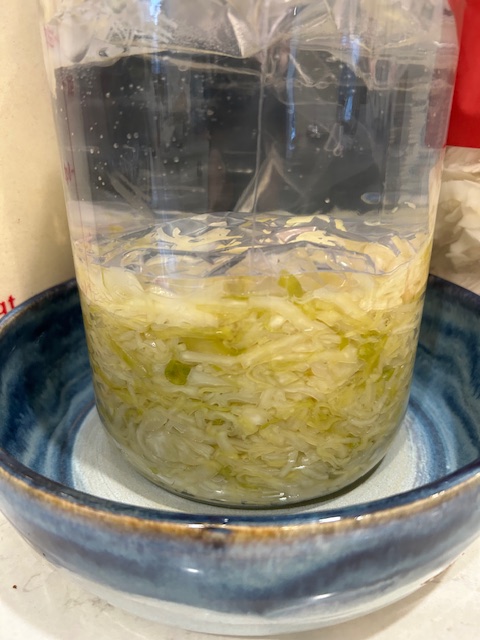
Whatever vessel you are using, add the cabbage a bit at a time and pack it down with your hands or a tool (a blender stick or a potato masher work well) as you go to make sure there are no air pockets. There should be at least a thin film of brine on top of the cabbage leaves. Fill the jar about half way.
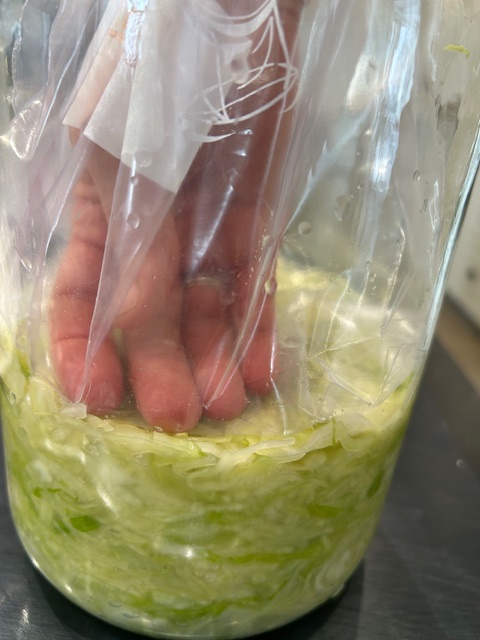
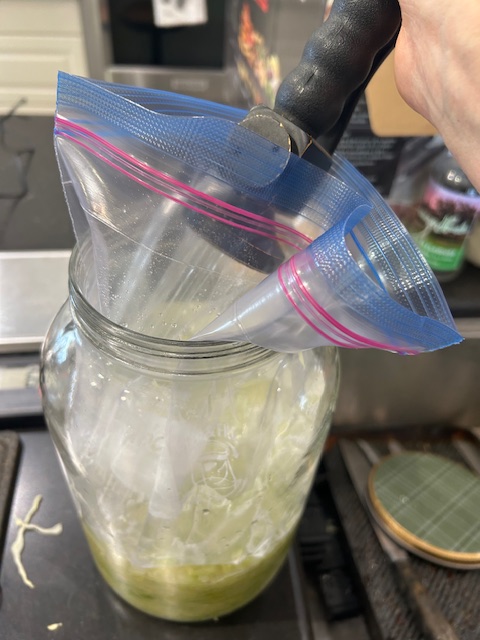
Next, you will want to cover the leaves to make sure they all stay under the brine and then top this with a weight. You can use a cabbage leaf to cover the leaves and then a special fermentation weight to hold it down or you can accomplish this all at once by covering the leaves with a zip lock bag, filling it with enough water to keep everything submerged and then zipping it tightly.
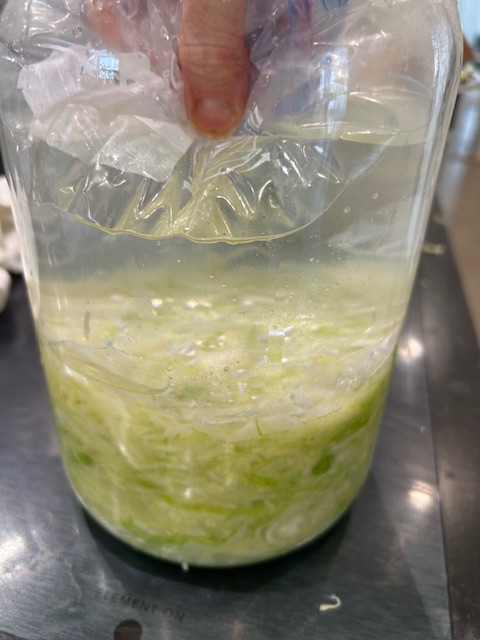
Finally, cover the jar with a cloth to keep the ferment debris-free. Place it on a tray or plate to catch any brine that bubbles up and spills over. Keep it close by, at room temperature or slightly cooler, out of direct sunlight, for 4-7 days. Keep an eye on it to make sure the veggies are staying submerged.
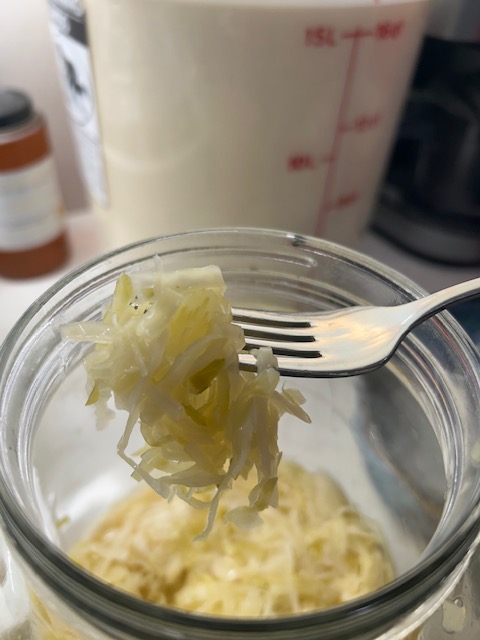
When it starts to soften and become a more dull colour it is time to check to see if it is done to your liking. How can you tell? By tasting it! When it is done, it will be pleasantly sour. If you would like to check the pH, you can do this with a pH strip. It should be 4.6 or lower.
Once it is done, transfer to smaller storage jars, pack it tight and cover with a lid. Ferments should be kept refrigerated to slow down the fermentation process.
Time Savers, Storage Tips and Spin off Recipes
- Once you feel comfortable with a basic dry brine ferment, go ahead and jazz it up!
- You can add extra spice or veggies or change the main vegetable all together as long as you keep the basic proportions and method the same
Did you Know?
Fermentation has been used by many cultures for thousands of years as a way of preserving and improving foods
This simple fermenting method works by creating optimal conditions for beneficial microbes (like lactobacillus) while also creating a hostile environment for pathogens
Salt releases water from the plant cells. This brine then surrounds the vegetables, keeping them in a slightly salty, anearobic environment
This is an ideal environment for microbes like lactobacillus, which grows rapidly and creates lactic acid as a byproduct
This decreases the pH of the liquid surrounding the vegetables, further helping with preservation
| This Recipe’s Plant Count: one! |
| Time required: 30 minutes, divided and 4-7 days of eager anticipation |
| # Servings: 6-7 1/2 pint jars, tightly packed |
