In the winter, when we have less eggs and veggies available, I find myself craving more fermented foods.
I assume this is my body’s nutritional wisdom (a term used to describe how your body craves the nutrients it needs, something I have only experienced since I stopped eating ultra-processed foods)
A few weeks ago I shared a versatile dry-brined veggie ferment technique. This week I will share with you a quicker, easier and even more potent ferment called kefir.
Ingredients
- *4 cups UCC organic milk
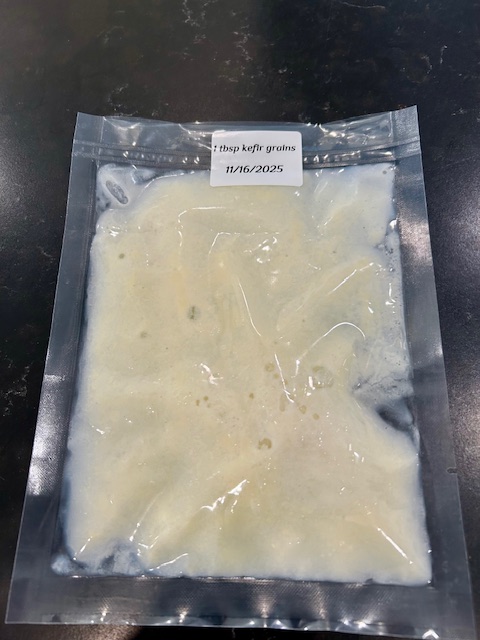
- *1 tbsp milk kefir grains
- *Harmony Farm product
Equipment
- 1 liter mason jar
- Fine mesh sieve
- Mixing bowl
- Spatula
- Cloth and elastic
Method
This is almost to simple to call a recipe!
Remove kefir grains from the freezer and allow them to reach room temperature. This will take about 30 minutes.
Add kefir grains to ~4 cups of full fat organic milk in a glass jar
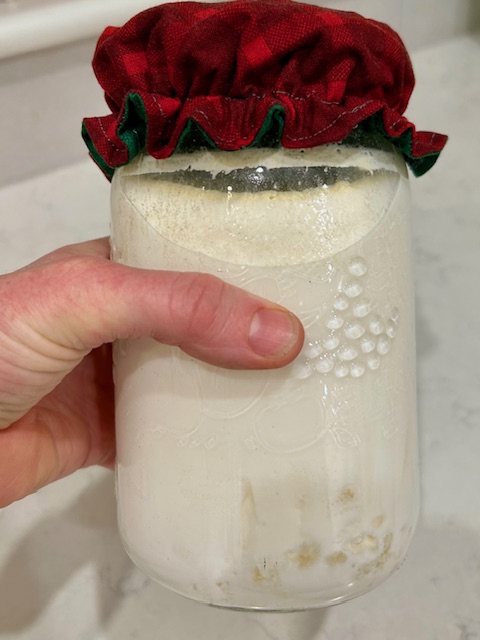
Cover with a cloth, secured with an elastic to keep it in place
Leave it on the counter, at room temperature, for 12-24 hours, until the milk begins to look the consistency of yogurt when you gently tip the jar
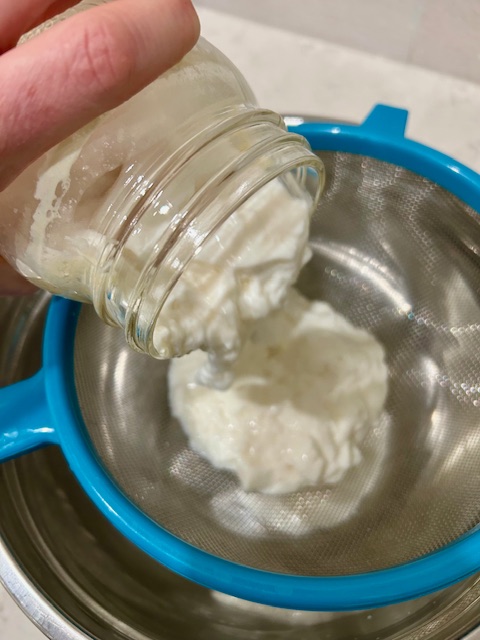
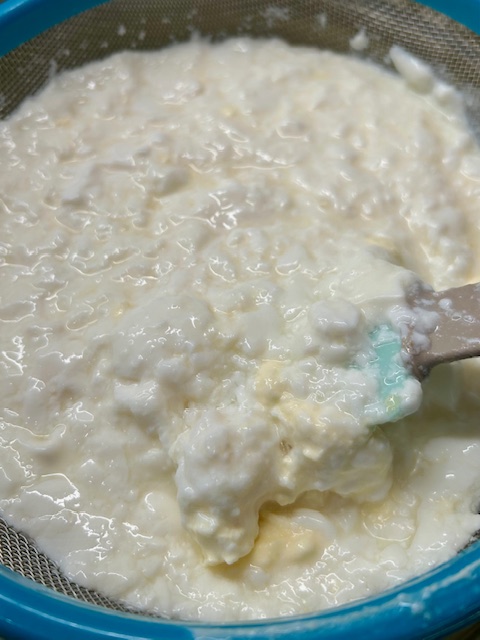
Pour the fermented kefir through a fine mesh sieve. You will notice rubbery “grains” that look like cauliflower or cottage cheese. The goal is to push the kefir through the sieve while protecting these grains from being damaged. You can do this by carefully stirring upward from the bottom of the liquid to push the kefir though while protecting the grains from contact with the sieve.

Keep finished kefir in the fridge. Alternatively, you can add small amounts of fruit or fruit peel for a second ferment (leave on the counter for 1-4 hours then remove and refrigerate). This will soften the grains and add effervescence.
Time Savers, Storage Tips and Spin off Recipes
- The grains can be used immediately for a new batch of kefir.
- They will expand over time allowing you to gift your extras or feed them to your chickens (they love them!).
- If you need a break from kefir, place your grains in a food safe bag, cover them in milk, remove excess air and freeze them. They will be ready and waiting when you need them again:).
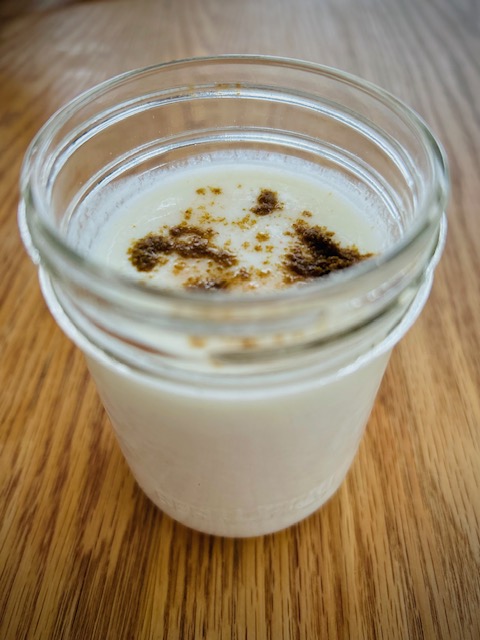
- Try adding salt and pepper and spices like cumin and turmeric for a savoury take on breakfast. Or turn it into a chia pudding by adding chia seeds and your favourite flavourings (eg vanilla, cocoa, coconut…) and refrigerating overnight.
- Some people find kefir too sour for their taste. If that is you, try adding it to yogurt so that you still get the benefit of all of the microbial goodness!
- Kefir can also be used instead of yogurt or buttermilk in baking. I love to use it in pancakes and biscuits:).

Did you Know?
Kefir has been around for thousands of years and is thought to have more beneficial microbes than any other type of ferment, up to 50-100 different types of microbes in each serving.
There is a significant difference between home made kefir and commercially produced versions.
Commercial kefir is made with a powdered starter and has far fewer beneficial microbes. Estimates are in the range of 5-10 varieties of beneficial microbe in commercial brands, an order of magnitude less than kefir you can easily make at home!
Cooking with kefir will kill the microbes; it turns out that they still provide the benefits of improving your immune function and microbiome, even after cooking!
| This Recipe’s Plant Count: only those you add as flavouring or for a second ferment |
| Time required: 10 minutes |
| # Servings: 4 x 250 ml servings |
